How to Convert JPG and PNG to WebP in WordPress
Use Rupanta Media Converter to create WebP copies of JPG and PNG images already in your WordPress Media Library. The plugin runs on your server and keeps the original files. This guide shows how to run a batch and check one image on your site.
1. Install the WordPress WebP plugin
In WordPress admin, go to Plugins > Add Plugin. Search for Rupanta Media Converter on WordPress.org, then install and activate it. Go to Media > Rupanta Media Converter and check the encoder indicators on the Converter tab. Your server needs GD or Imagick with WebP encoding support.
If you want to try the workflow first, use a staging site with a JPG photo and a PNG graphic in its Media Library. The batch processes eligible images across that library.
2. Enable WebP output for JPG and PNG
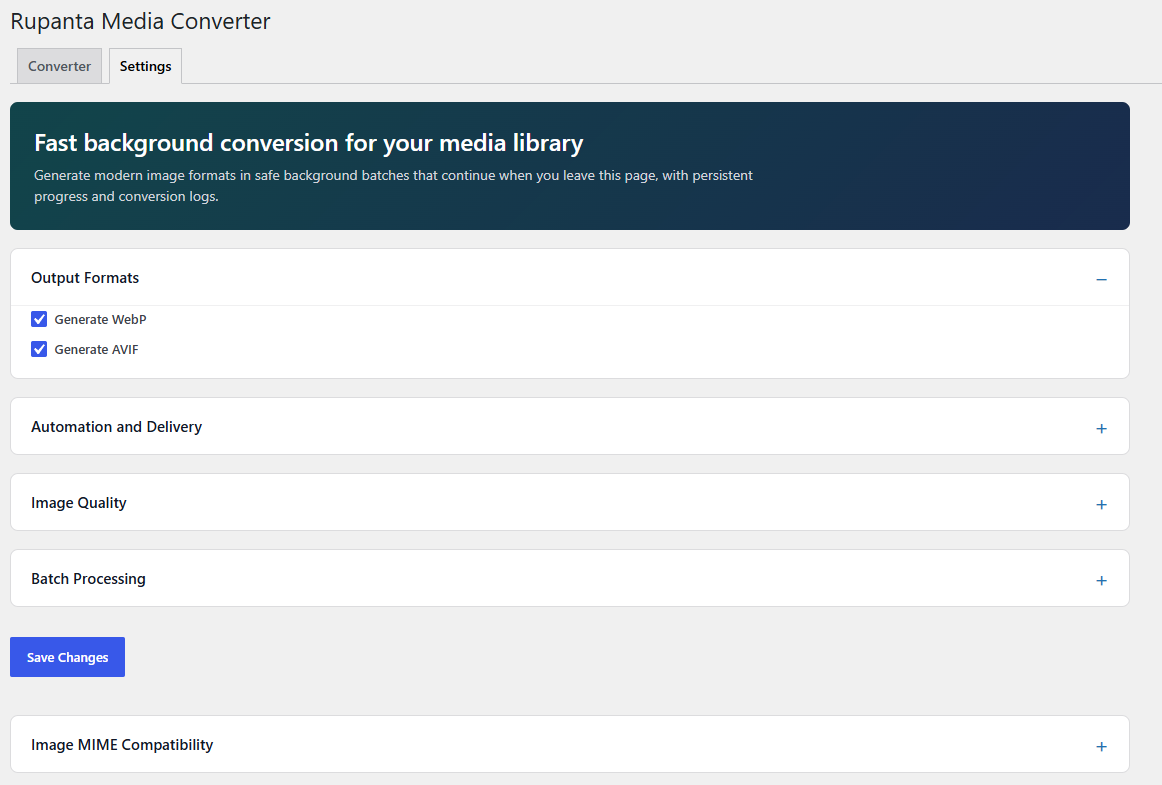
Open Settings > Output Formats and select Generate WebP. For a WebP-only batch, clear Generate AVIF. Review the WebP setting under Image Quality and select Save Changes.
3. Bulk convert images to WebP in WordPress
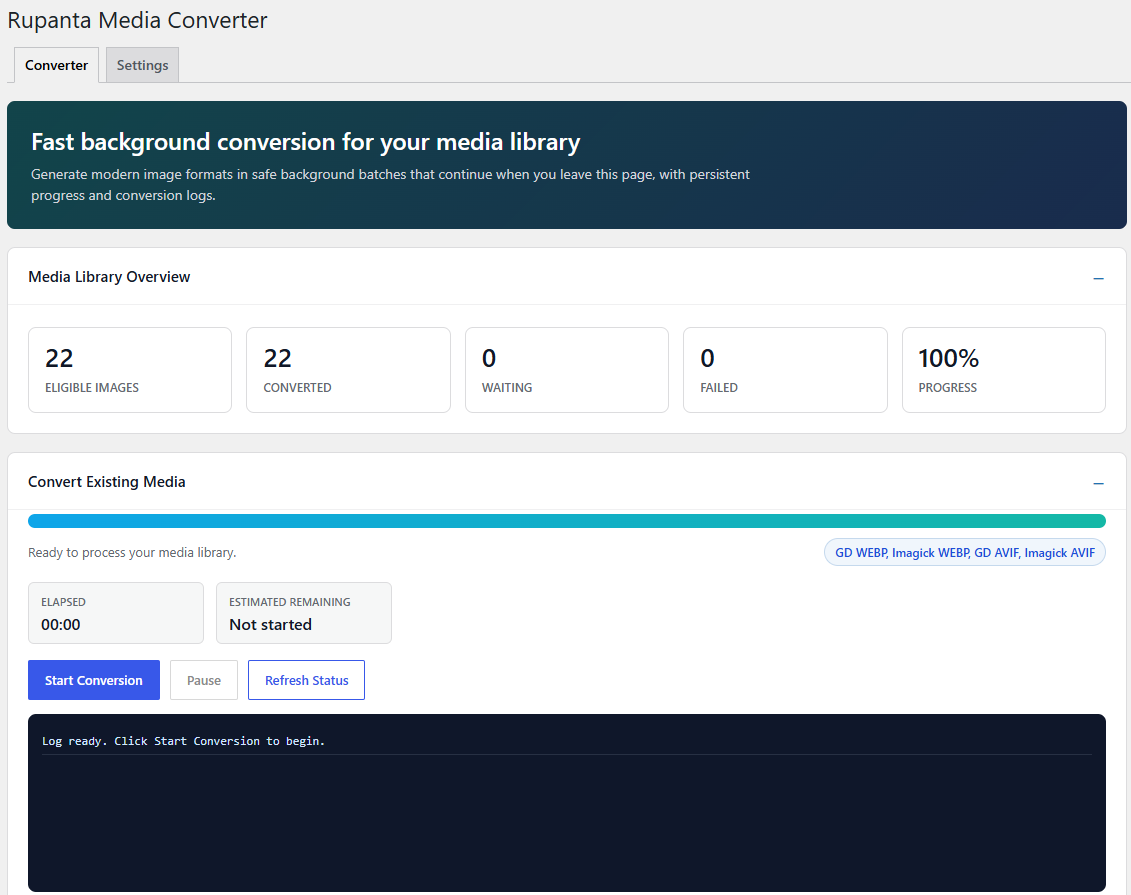
Return to the Converter tab. Under Convert Existing Media, select Start Conversion. WordPress cron processes existing JPG and PNG attachments in batches, so you can leave the page while cron is running.
When you return, use Refresh Status to check the converted and failed counts. If the job stalls, check that WordPress cron or your host’s scheduled cron job is running. If an image fails, read its recorded reason before retrying.
4. Verify a WebP file and its original
- Open the JPG attachment in the Media Library and copy its file URL. Repeat for the PNG. Open those URLs to confirm the originals remain available.
- In Rupanta’s Settings > Automation and Delivery, enable Serve generated formats with picture markup on the front end and save.
- Open a page that displays a converted Media Library image. Reload with your browser’s Network panel open and check the image response for
Content-Type: image/webp. On the same image’s<picture>element, the fallback<img>can still point to the JPG or PNG.
If the page serves the original, check that picture output is enabled, the attachment has been converted, and the page uses compatible WordPress image markup. Reload after clearing any cached page output.
Automatically convert new uploads
In Settings > Automation and Delivery, enable Convert new image uploads automatically and save. New JPG and PNG uploads will use the formats you enabled. To generate AVIF too, check that your server supports AVIF encoding and select Generate AVIF.